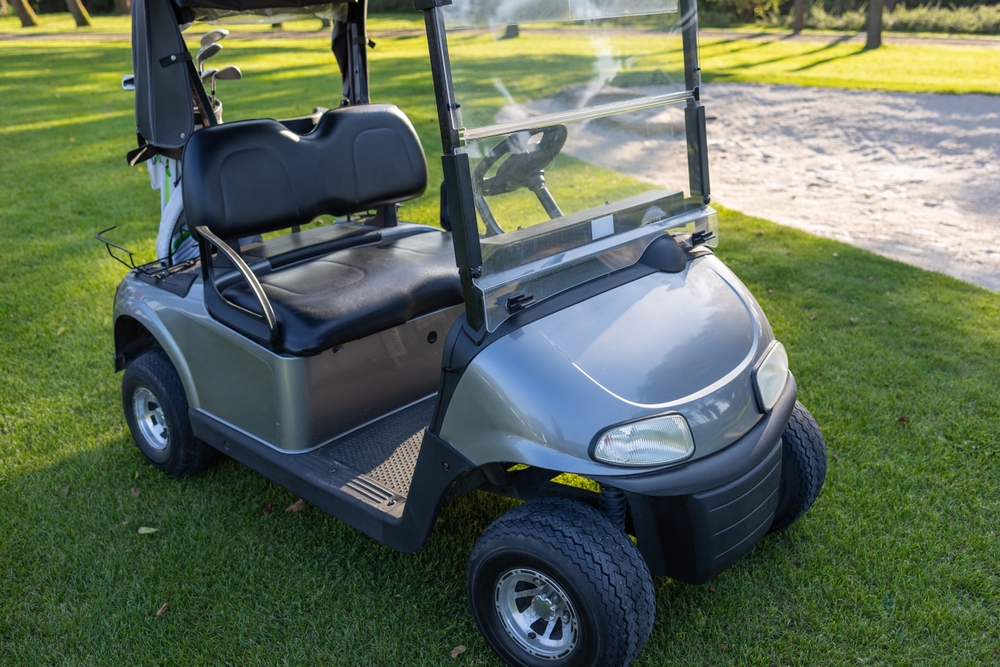

Owning a golf cart provides convenient transportation around the neighborhood, the back nine, or your large property. Like any passenger vehicle, these machines require regular golf cart maintenance and occasional fixes to keep them running smoothly. Learning how to repair a golf cart yourself saves money on mechanic fees and extends the lifespan of your investment.
You can handle many common mechanical issues right in your own garage with basic tools and a clear plan. We will cover the primary golf cart troubleshooting steps for both electric and gas models so you can ride with confidence. Taking the time to understand your vehicle prevents minor wear and tear from becoming a catastrophic failure.
Before you start turning a wrench, you must first identify the root cause of your cart’s specific malfunction. Electric and gas models share similar chassis components, but they feature completely different power delivery systems. Diagnosing the problem accurately from the beginning saves you hours of frustrating guesswork and wasted money.
Most issues fall into one of three categories: electrical faults, fuel system clogs, or mechanical wear. You should systematically check the most accessible components first before tearing down complex assemblies. Keeping a detailed log of your cart’s symptoms helps you pinpoint the exact part that requires attention, or gives the technicians at Golf Cart Guy Gap PA a perfect head start if you decide to bring it in for expert diagnostics.
Electric Golf Cart Repair and Golf Cart Battery Maintenance
Most electric golf cart repair needs stem directly from battery degradation or poor connections between the individual cells. You should check the water levels in flooded lead-acid batteries monthly to prevent the internal plates from drying out. If your cart struggles to hold a charge, test the voltage of the entire battery bank using a digital multimeter.
A fully charged 48-volt system should read around 50 to 51 volts across the main positive and negative terminals. Corrosion on the battery posts restricts current flow and causes massive performance drops during acceleration. You can clean terminal corrosion easily using a simple mixture of baking soda, water, and a stiff wire brush. For heavy scale buildup or deeper electrical issues, the team at Golf Cart Guy Gap PA offers specialized electrical system testing and battery reconditioning services to restore lost power.
Gas Golf Cart Troubleshooting and Golf Cart Engine Repair
Effective gas golf cart troubleshooting starts with the engine, which operates much like a small lawnmower and suffers from similar issues. Stale fuel clogs the tiny carburetor jets, preventing the engine from starting or causing it to run incredibly rough. You should drain old gas completely if the cart sits idle in storage for more than a few months.
Check the spark plug for heavy carbon buildup and replace it if the electrode looks fouled or burned. A dirty air filter also suffocates the engine, reducing top speed and overall power output on steep hills. Replacing the fuel filter and air filter annually keeps the combustion process running cleanly and efficiently.
DIY Golf Cart Repair: Essential Golf Cart Parts and Tools for the Garage
Tackling DIY golf cart repair in Lancaster, PA requires a solid set of hand tools dedicated to basic mechanical work. You will need a standard socket set, open-end wrenches, and a reliable floor jack with sturdy jack stands. A high-quality digital multimeter is absolutely mandatory for diagnosing electrical faults safely and accurately.
Safety glasses and thick rubber gloves protect you from battery acid and sharp metal edges during heavy maintenance. You might also want a wire brush and dedicated terminal cleaner for electrical upkeep. Check out our complete guide to essential garage tools for beginners.
Having the right golf cart parts nearby prevents frustration and speeds up the entire repair process.
DIY Golf Cart Repair: Golf Cart Battery Replacement and Installation
Eventually, every electric cart needs a battery replacement to keep moving forward. Lead-acid batteries typically last four to six years depending on usage and your regular golf cart battery maintenance habits. Following the correct sequence prevents dangerous electrical arcs and protects the cart’s sensitive internal controller. Proper installation and torque specifications drastically improve battery lifespan.
Replacing Your Battery Bank
- Prepare Your Workspace and Focus on Safety
Switch the cart to tow mode and wear heavy rubber gloves along with safety goggles. Disconnect the main negative cable first, followed by the main positive cable, to cut power completely.
- Disconnect and Remove the Old Batteries
Unbolt the remaining jumper cables connecting the individual batteries in the series. Remove the physical hold-down brackets and carefully lift each heavy battery out of the plastic tray.
- Install the New Power Cells and Reconnect
Clean the empty battery tray thoroughly before dropping the new batteries into place. Reconnect the series jumper cables, tighten the nuts to the recommended torque, and apply an anti-corrosion spray.
Advanced Golf Cart Maintenance: Troubleshooting the Solenoid and Motor
The solenoid acts as a heavy-duty switch that delivers massive power from the batteries directly to the motor. If you press the accelerator pedal and hear a faint clicking sound but the cart refuses to move, the solenoid often carries the blame. This component handles high amperage daily and eventually burns out from normal use.
Diagnosing these electrical parts requires patience and a good understanding of basic circuitry. You must isolate the components to figure out where the electrical signal drops off. Doing this systematically prevents you from buying expensive replacement parts that you do not actually need.
Golf Cart Solenoid Testing and Diagnostics
You can perform golf cart solenoid testing by checking for continuity across its large terminals while engaging the pedal. If the multimeter shows no continuity, the internal copper contacts have burned out and require a full replacement.
Replacing the solenoid is a straightforward job that only takes about twenty minutes with basic hand tools. Disconnect the battery pack completely before unbolting the cables from the old solenoid. Swap the wires over to the new unit exactly as they were positioned previously.
Inspecting the Motor Brushes
Electric motors rely on internal carbon brushes to transfer electrical current to the spinning armature. Over time, these brushes wear down and lose contact, creating a stuttering acceleration or complete failure. You can remove the motor end cap to inspect the length and condition of the brushes.
If they measure less than a quarter-inch long, you must swap them out for a fresh set. You should also check the copper commutator for deep grooves or burn marks while the motor cap is off. Cleaning the internal motor components extends their life and keeps your cart running efficiently.
Golf Cart Maintenance: Golf Cart Steering Repair and Suspension Fixes
A bumpy ride or a steering wheel that pulls hard to one side indicates worn suspension components. Golf carts endure significant abuse from rough terrain, which degrades rubber bushings, tie rods, and shocks over time. Ignoring these issues leads to poor handling and uneven tire wear.
Rebuilding the front suspension restores the smooth, factory-fresh ride you expect from your cart. You can purchase complete bushing kits that contain all the necessary hardware for a full front-end rebuild.
Aligning the Front End
Proper wheel alignment prevents uneven tire wear and keeps the cart driving perfectly straight down the road. You can perform golf cart steering repair by loosening the tie rod lock nuts and turning the threaded center shaft. For standard carts, the front tires should point inward by roughly one-eighth of an inch.
Measure the distance between the front center treads and compare it to the rear center treads to verify this adjustment. Roll the cart forward a few feet after making changes to let the suspension settle before measuring again. Tighten down the lock nuts firmly once you achieve the correct alignment specifications.
Replacing Worn Bushings
Leaf spring bushings consist of polyurethane or rubber and absorb harsh vibrations from the road surface. When these wear out entirely, you will notice a distinct metal-on-metal clanking sound going over bumps. Replacing them requires jacking up the cart, supporting the heavy frame securely, and unbolting the leaf springs.
Push the old, cracked bushings out of the metal sleeves using a large flathead screwdriver or a specialized press tool. Lubricating the new polyurethane bushings with a lithium-based grease prevents annoying squeaks during operation. Reassemble the suspension components and torque all the hardware tightly.
Servicing Golf Cart Tires: Maintenance and Replacement Guide
Golf cart tires represent the only contact patch between your vehicle and the ground, making them critical for safety. You should check tire pressure monthly, as under-inflated tires severely reduce battery range and top speed. Most standard golf cart tires require about 20 to 22 PSI for optimal performance on paved surfaces.
Inspect the rubber treads for uneven wear patterns, dry rot, or embedded debris like nails and thorns. If the tread depth drops below a safe level, the cart will lose traction rapidly on wet grass. Replacing tires on standard eight-inch rims requires a tire spoon, but buying pre-mounted wheel assemblies saves massive amounts of time.
Golf Cart Brake Repair: Safety and Performance Maintenance
Stopping power is just as critical as acceleration, especially if you drive on hilly terrain or carry heavy passengers. Most golf carts use mechanical drum brakes located strictly on the rear wheels, which require periodic golf cart repair in Coatesville for brakes. Failing to maintain your brakes creates a massive safety hazard for you and your neighborhood.
You should inspect the brake pedal travel every month to catch slack in the system before it becomes dangerous. A firm pedal that stops the cart smoothly indicates a healthy, well-adjusted braking system that is ready for the road. If the pedal travels all the way to the floorboard, you need to intervene immediately to ensure the safety of your passengers.
Adjusting Brake Cables
Cable stretch happens naturally as you use the cart, resulting in a soft or unresponsive brake pedal. You can tighten the brake cables underneath the floorboard where the pedal assembly connects to the linkage. Tighten the equalizer rod nut until you feel firm resistance when pressing the pedal halfway to the floor.
Properly adjusted brakes significantly reduce the risk of low-speed collisions. Do not over-tighten this nut, or the brake shoes will drag against the drum while driving. Test the cart at a low speed after adjusting the cables to verify proper stopping power.
Replacing Brake Shoes
If adjusting the cables does not restore stopping power, the brake shoes likely need replacing. You must remove the rear wheels and slide off the metal brake drums to access the internal shoe assembly. Inspect the friction material closely; if it measures thinner than a dime, install new brake shoes.
Clean the drum interior thoroughly with specialized brake parts cleaner before reassembling the wheel hub. Pay close attention to the small return springs and clips during reassembly so everything functions correctly.
Need Expert Assistance? Contact Golf Cart Guy Gap PA!
While DIY maintenance is a great way to care for your vehicle, some diagnostics, electrical overhauls, and mechanical repairs require a professional touch. Whether you are dealing with a stubborn electrical issue, need a full battery replacement, or want a precision suspension alignment, Golf Cart Guy Gap PA is here to help.
With years of specialized experience in both gas and electric models, our skilled technicians offer comprehensive repair, maintenance, and customization services to keep your cart in peak condition.
Don’t let mechanical troubles keep you off the course! Contact Golf Cart Guy Gap PA today to schedule your service or source the dependable parts you need.